 "Rihanna's Parking Spot for the Last 6 Months"
On Wednesday I took Rihanna, in the rain, to her new home during the build. Upon parking her in her new spot, I had to take a towel and dry her off. Then it was on to the passenger door to figure out how to get the motor out of it.
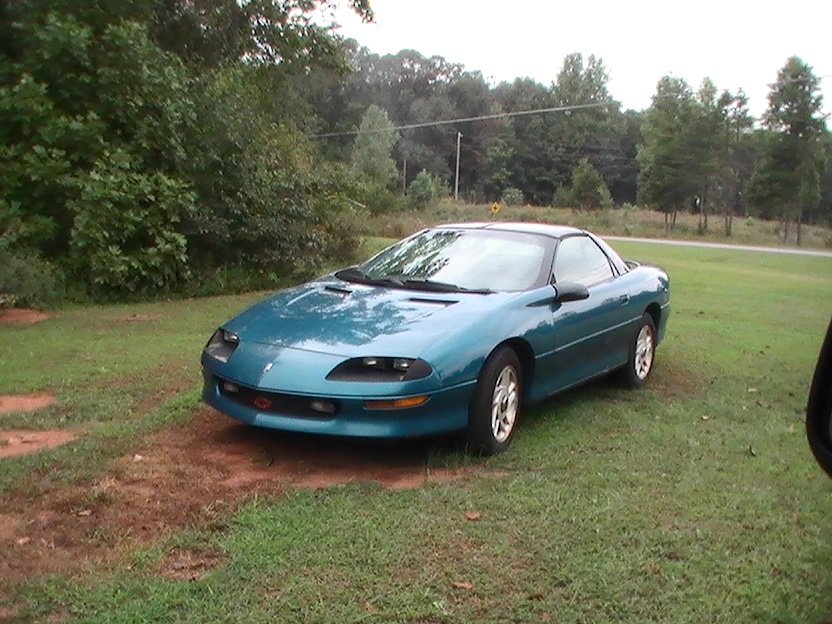
 "Her New Spot for the Build"
Before I go any further, I would like to explain the reason why I chose to work on the passenger power window before doing any other work to the car. I thought it would be a simple fix. I figured it was a good way than to jump in on the car and accomplish something. The idea was to build momentum towards working on the other jobs that I thought would be tedious, such as sanding the car. I figured all I would need to do is replace the bolts that held the motor in and swap old with new.
Once I got a better look at the task at hand, I realized that the power window motor was riveted in rather than bolted. I had to drill out the four rivets that held the motor in place. Then, with the help of my father holding the window upright so it would not fall and shatter, we were able to get the old motor out of the door. It was at this point we realized that the motor itself was riveted into the mechanisms that allow the window to go up and down. Dad sent me to town to purchase a new power window motor from Advance Auto Parts for $47.99. I brought the new part back and we called it quits for the day.
Thursday I woke up to find that dad had started without me. By the time I got to the shop, he had already drilled the rivets out of where the factory power window motor was and had replaced it with the new aftermarket motor with the bolts and nuts that came with the aftermarket kit. I had looked online at how hard it would be to replace the motors and the reviews I saw stated that it took patience and you needed a high tolerance of pain. People said that when you switch the motor out that is attached to the mechanism, due to the spring, it was very dangerous, and tedious. I honestly cannot comment on how hard that step is, as my father went to work on it without me.
Once I got to the shop, he handed me the new motor attached to the mechanisms and headed out for lunch. So I took the tail lights out of my car and took off the kick panels.
 "Tail lights are gone"
Then I decided I would try and get the new motor and mechanisms back in the door and put back together. As I started, dad came back and helped me by holding the window up while I put the mechanism rollers back into the side trays. Then it was time to try and mount it to the door. I was able to get one bolt in it with no problem. The second bolt I got in took a little creative thinking. I had to take one bolt and attach a nut at either side of it, since the length of the bolt was causing us problems.
Then dad decided to jump in and send me over to the sidelines to observe how it should be done. For the last two bolts, he used self -threading bolts, and used a tap and die set to get the bolts to grab and lock. Then he told me to wrap it up and put everything back together.
"Before and After"
I tested the window out and it worked great. The only thing I had left to do was grind the bolts that I had placed in the door down smoothly so that when I get ready to put the door panel back on I can.
"Making Sparks"
I have to say this part of the project was much more complicated than I thought It would be. However, having dad there to help, it was not nearly as difficult as the reviews I had read on the web claimed it would be. Unfortunately, my arms do have some scraps and cuts on them. All in all I feel very accomplished with this week’s effort.
My goal for next week is to get the hood removed, the trunk hatch removed, all the weather stripping taken off, and see if I can find some finder turn signals on a wrecked BMW to put on Rihanna.
No comments:
Post a Comment