This week, I did not have as much time as I would have liked to work on my car. However, I was able to get the hood and the hatch unbolted from the rest of the car. I also got the weather stripping taken off.
"Driver Side Sand"
In addition, I started to sand on the car.
"Rihanna's Rear"
On Monday, I went to Hwy 21 Motors and found fender turn signals that came off of a Volkswagen Jetta for 10 dollars.
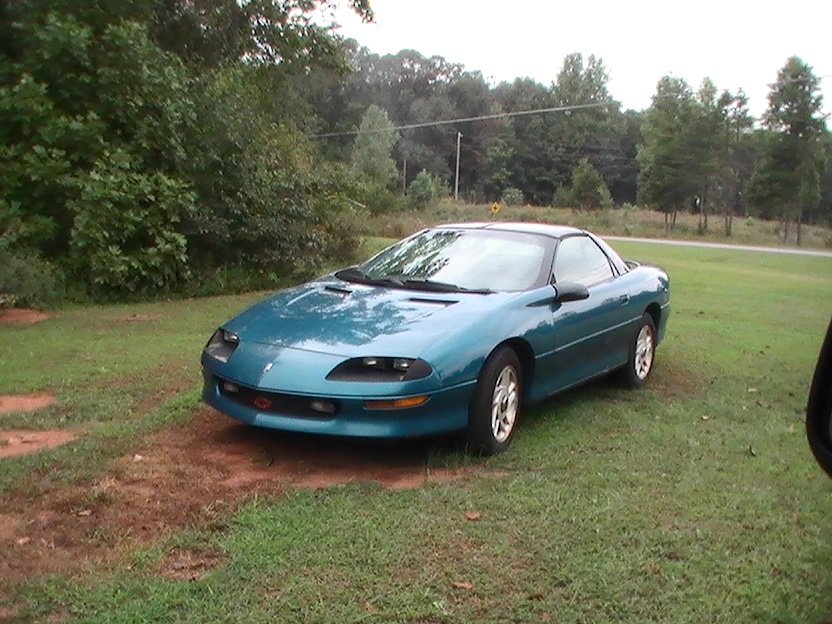
"Passenger Side"
Next week, I hope to be able to continue sanding the rest of the car. I also hope to be able to fabricate and wire the turn signals into Rhianna. I hope to order poppers for both doors, money willing, so later on I will be able to shave the door handles. This is the goal, but we shall see.
My goal for this week was to get the car moved down to the garage where I could finish getting it stripped down and try and replace the passenger window motor. On Tuesday, dad and I went down to his shop and cleaned up a little and pressure washed the floors.
"Rihanna's Parking Spot for the Last 6 Months"
On Wednesday I took Rihanna, in the rain, to her new home during the build. Upon parking her in her new spot, I had to take a towel and dry her off. Then it was on to the passenger door to figure out how to get the motor out of it.
"Her New Spot for the Build"
Before I go any further, I would like to explain the reason why I chose to work on the passenger power window before doing any other work to the car. I thought it would be a simple fix. I figured it was a good way than to jump in on the car and accomplish something. The idea was to build momentum towards working on the other jobs that I thought would be tedious, such as sanding the car. I figured all I would need to do is replace the bolts that held the motor in and swap old with new.
Once I got a better look at the task at hand, I realized that the power window motor was riveted in rather than bolted. I had to drill out the four rivets that held the motor in place. Then, with the help of my father holding the window upright so it would not fall and shatter, we were able to get the old motor out of the door. It was at this point we realized that the motor itself was riveted into the mechanisms that allow the window to go up and down. Dad sent me to town to purchase a new power window motor from Advance Auto Parts for $47.99. I brought the new part back and we called it quits for the day.
Thursday I woke up to find that dad had started without me. By the time I got to the shop, he had already drilled the rivets out of where the factory power window motor was and had replaced it with the new aftermarket motor with the bolts and nuts that came with the aftermarket kit. I had looked online at how hard it would be to replace the motors and the reviews I saw stated that it took patience and you needed a high tolerance of pain. People said that when you switch the motor out that is attached to the mechanism, due to the spring, it was very dangerous, and tedious. I honestly cannot comment on how hard that step is, as my father went to work on it without me.
Once I got to the shop, he handed me the new motor attached to the mechanisms and headed out for lunch. So I took the tail lights out of my car and took off the kick panels.
"Tail lights are gone"
Then I decided I would try and get the new motor and mechanisms back in the door and put back together. As I started, dad came back and helped me by holding the window up while I put the mechanism rollers back into the side trays. Then it was time to try and mount it to the door. I was able to get one bolt in it with no problem. The second bolt I got in took a little creative thinking. I had to take one bolt and attach a nut at either side of it, since the length of the bolt was causing us problems.
Then dad decided to jump in and send me over to the sidelines to observe how it should be done. For the last two bolts, he used self -threading bolts, and used a tap and die set to get the bolts to grab and lock. Then he told me to wrap it up and put everything back together.
"Before and After"
I tested the window out and it worked great. The only thing I had left to do was grind the bolts that I had placed in the door down smoothly so that when I get ready to put the door panel back on I can.
"Making Sparks"
I have to say this part of the project was much more complicated than I thought It would be. However, having dad there to help, it was not nearly as difficult as the reviews I had read on the web claimed it would be. Unfortunately, my arms do have some scraps and cuts on them. All in all I feel very accomplished with this week’s effort.
My goal for next week is to get the hood removed, the trunk hatch removed, all the weather stripping taken off, and see if I can find some finder turn signals on a wrecked BMW to put on Rihanna.
Today, I really jumped into tearing the interior of the car down. I feel that I was pretty successful. All I have left to remove is the weather stripping, car stereo and tail-lights. The goal is to get the car moved into the garage where I can begin sanding on her sometime next week. Here is a little video montage of what I accomplished today.
This is also a project within a project. My father is really good at fixing up old cars. My goal for this project is for me to do all the work, and learn from my father at the same time. It is like a father/son project, but he will be watching from the sidelines. During timeouts he can come out on the field to tell me and show me what I am doing wrong. I am hoping I can learn his skills and be able to carry on fixing up cars. I will also post pictures from some of the projects that he is working on. This is his 37’ Pontiac that he recently finished. What do you think?
A good friend of mine, Stuart Thompson, encouraged me to find a name for my car a few years back. I quickly chose Bertha. He immediately informed me how lame that name was. He wanted me to think about it and come up with a name that fit the character of the car. A few weeks later, as I was driving down the road, a song came on the radio. Rihanna performed this song. As I was listening, I began to think.
My project car has been hit about seven different times. I was not in the car on any of these occasions. When attending a college with many of young drivers, you often come out to the parking lot to find dents, dings and even a doughnut rub where people had damaged it. Another one of my friends, Jonathon Blanks, was pulling out of an ally as I was riding shotgun. He took out a 2-foot concrete wall. Luckily, the only damage done to my car was a scratched undercarriage, but the wall was down for the count. I started to see a similarity between my car and Rihanna. Some things in life will just always take the whooping and bounce back better and stronger.
My project car is a 4th generation Camaro. To be more specific, it’s a 1995 Chevrolet Camaro v6 3.4L (207 cu in). I got this car in 2007 with the hopes of being able to fix it up one day. That day has finally come. However, the hardest part of this project will be finding the money for all the modifications that I would like to make. But, in time, I will slowly make progress. The idea of making this build into a blog is for personal remembrance. I want to have a timeline of my work. My goal is to have the project finished in 24 months, but we shall see.
 "Driver Side Sand"
 "Rihanna's Rear"
 "Passenger Side"